Start off with a half a yard of fabric, (unfolded, so you are only cutting and drawing on one layer). In the middle of the fabric, pin your tape measure at the 0 mark through the fabric and into the surface underneath. I like to work on carpet or a a cardboard cutting mat so that the pin will stand up on its own. If you dont have a soft surface like that, you may have to hold the pin in place with your non-writing hand.

Next, we draw the inner circle. I am marking at 1 1/4". The smaller you make this circle, the tighter/more compact your ruffle will be. Walk the tape measure around full circle marking about an inch apart.
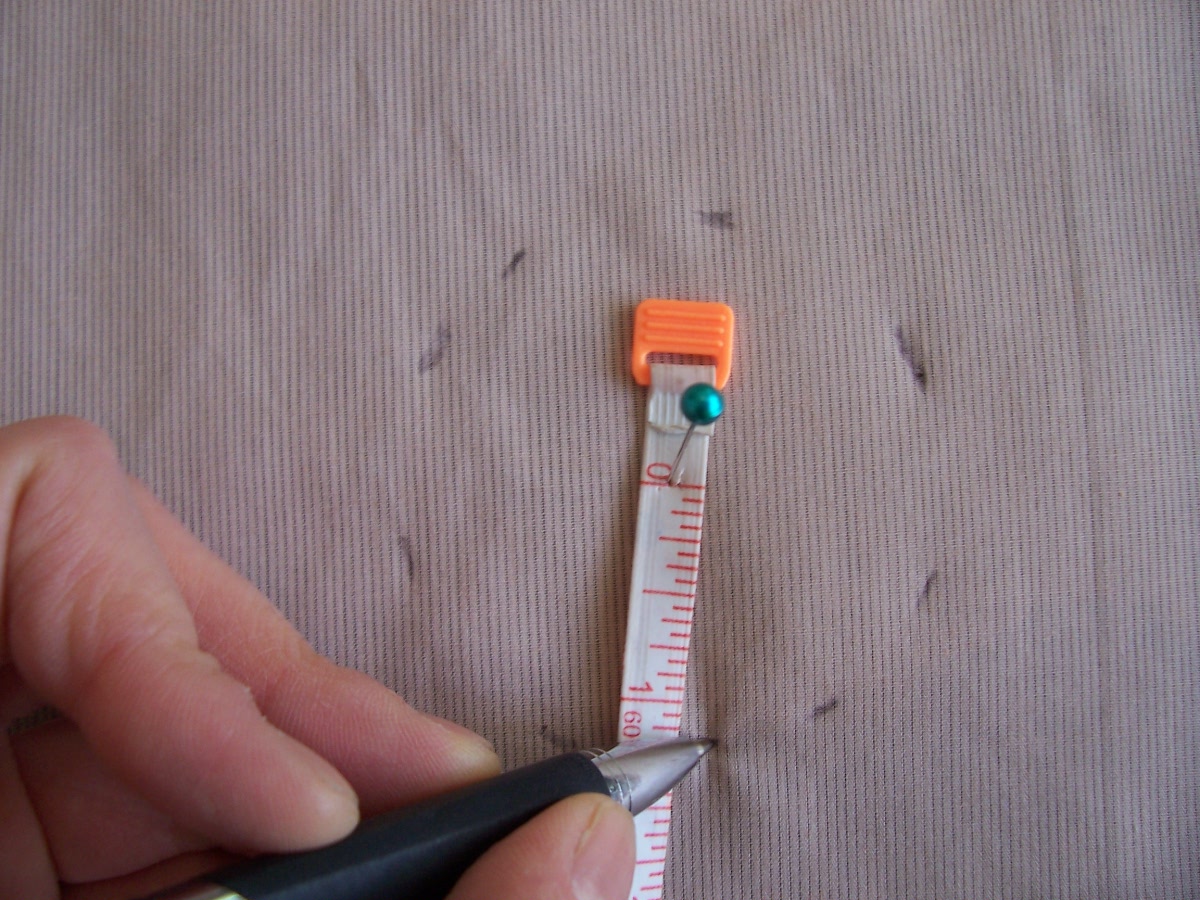
Next we determine the width of the ruffle. I am making my ruffle 4 3/4". Remember, when marking the outer circle/width of ruffle, you measure the width from the inner circle, not from the 0 mark on the tape measurer. (So I am measuring 4 3/4" from the 1 1/4" mark, making the distance from the 0 on the tape measure to the outside circle 5"). Again, walk the tape measure full circle, marking an inch or so apart. Connect the dots so that you have two clear circles.

Next, cut out the outer circle. Cut a straight line into the inner circle and cut out inner circle.
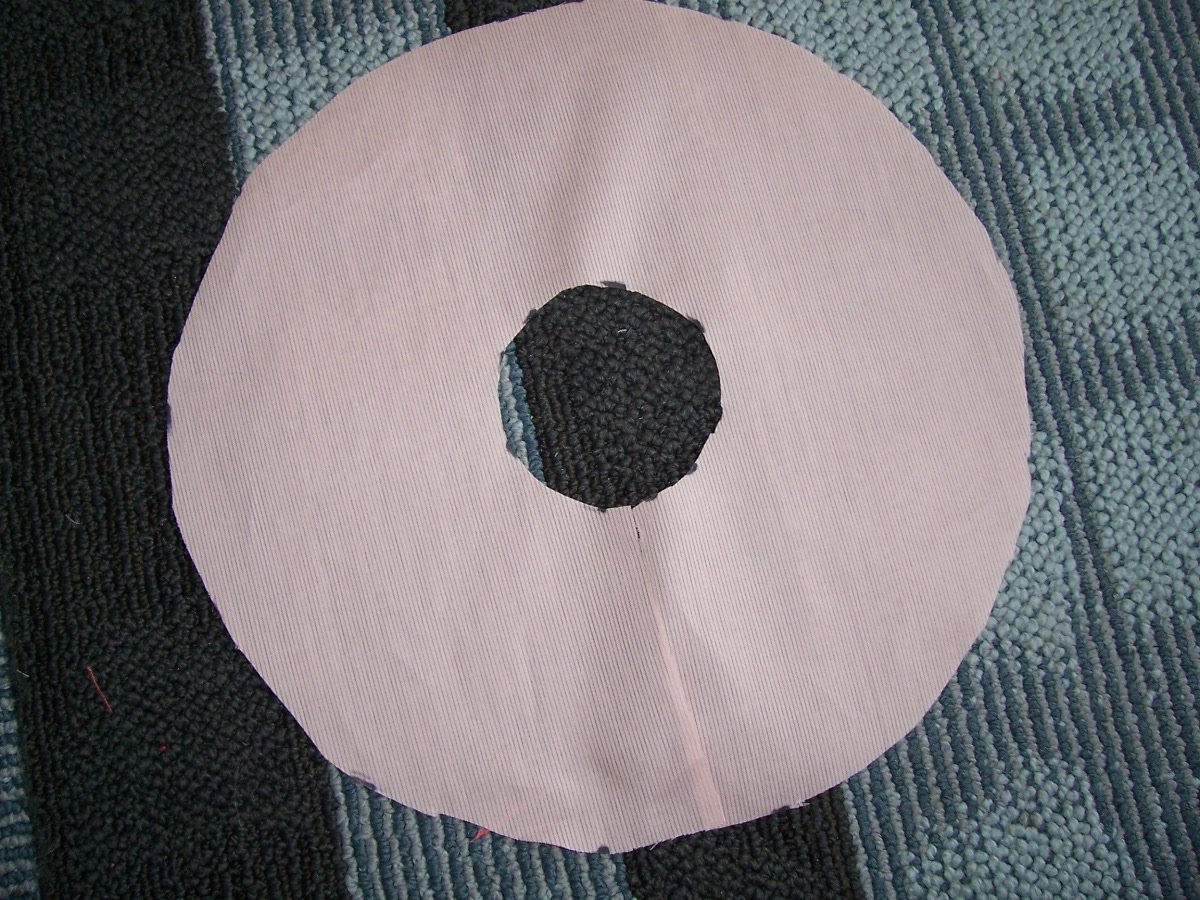
Straighten out the circle ( i just pinned it to the carpet so you can get the idea). The circle becomes a ruffle. Now you can sew this ruffle onto whatever you are making! Keep in mind though that you want to keep the inner edge straight in order to get the full ruffle effect.

A couple of tips:
2)Finishing off edges on a circular ruffle can be a little tricky. Because of the strong curve at the edge, rolling the hem on the sewing machine can be difficult and give you a ugly edge. If you have a serger, the rolled hem function is often the best option. Or if you want a more couture look, you can roll the edge by hand and pin.... and then sew by hand (this will take a lot of time). The other option would be to line the ruffles in order to hide the edge.
3)Circular ruffles eat up a lot of fabric, much more than straight ruffles.
4. If you are planning on cutting out a lot of ruffles, i would suggest making a pattern. All you have to do is complete the above procedure on a peice of butcher paper, and pin to fabric.
5.)I used pen in this demonstration. If you are going to mark on the fabric, use tailor's chalk instead.
6)The smaller you make the inner fabric, the shorter the length of your ruffle. If you want a longer ruffle, you can cut out multiple circles, and sew the short straight edges together.
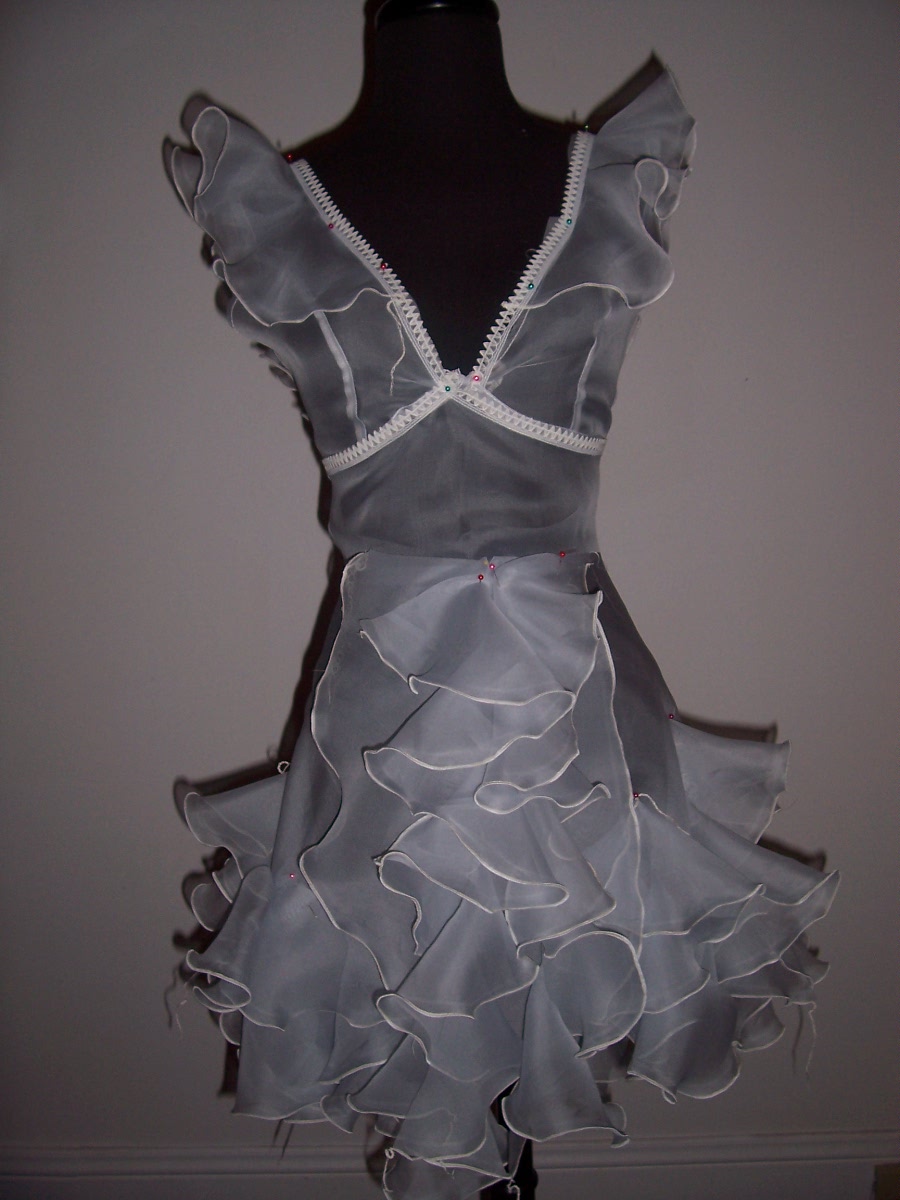
Different fabrics will give you different effects. In this practice dress, I am using a silk organza for my circular ruffles. The silk organza gives a very airy and bouncy feel to the ruffles. The serged rolled hem is a perfect way to finish off silk organza and will give the edges a lettuced effect. I also used a contrasting thread color in order to make the edges pop.
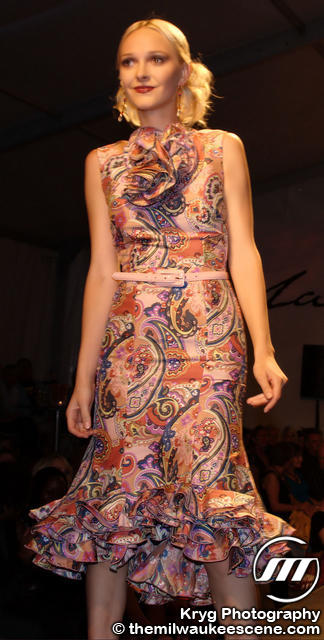
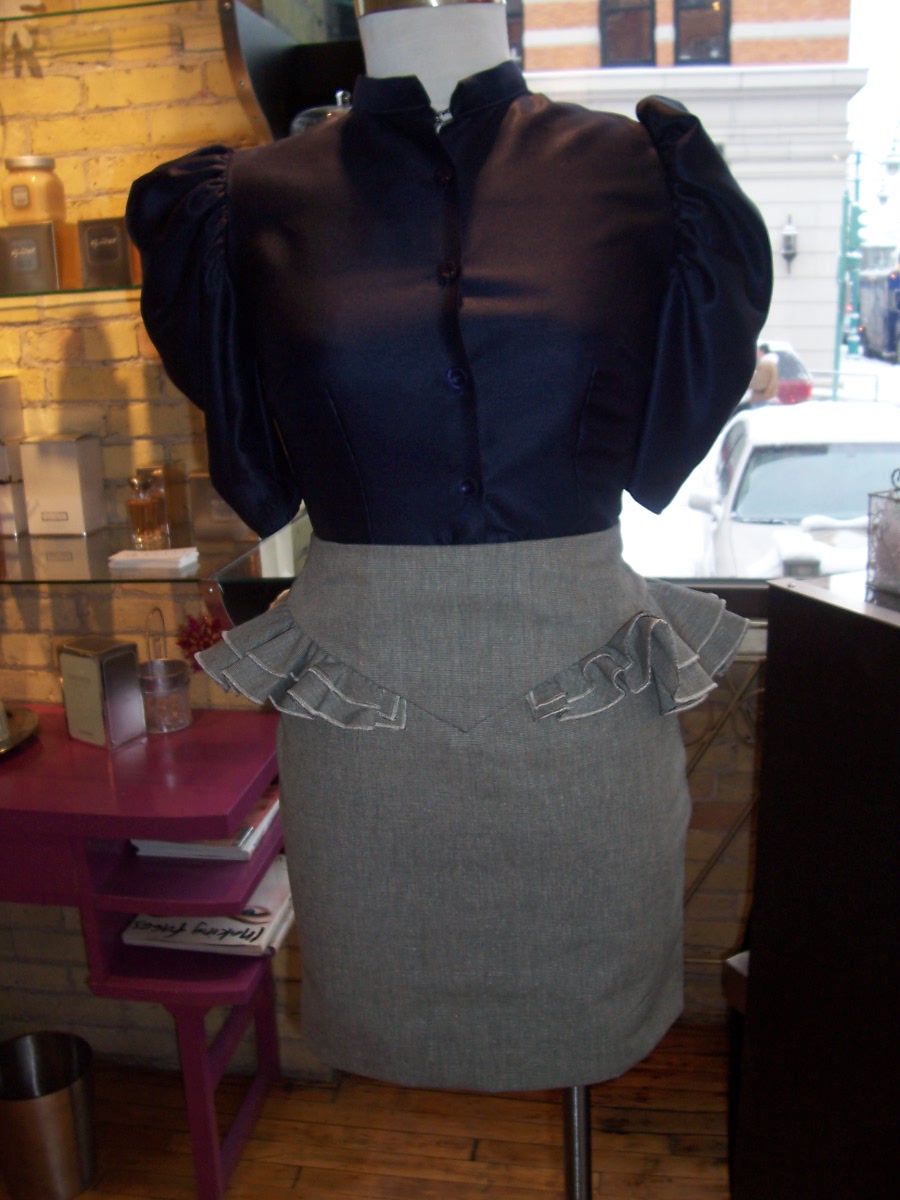
Another dress where I used circular ruffles, in the collar piece and the hemline.
Again, another piece using circular ruffles. This is a heaver weight fabric, almost like a duck cloth. The fabric helps create a more structured/sculptural ruffle.
Circular ruffles were very popular in 1930's... The patterns below show different ways in which they were used. In both of these patterns the dresses use circular ruffles that have a larger inner circle .... note how the ruffles seem to be more like waves.

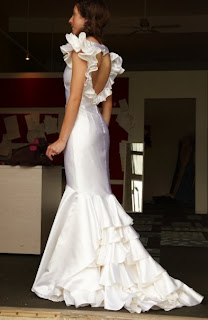
This is a 1930's inspired wedding dress that I did. I used circular ruffles with smaller inner circles, giving more compact ruffles. Again this type of ruffle eats up a lot of fabric...including the lining, I probably used 25 yards of fabric to create this! Because both sides of these ruffles are visible, they are all lined so that the underside is as pretty as the outer side.
If you dont cut out the inner circle, you can bunch the circles together to create organic looking ruffly shapes...

This method is used in the Marchesa dress below:

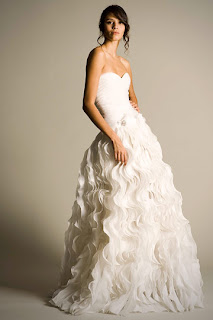
Circular ruffles with a larger inner circle were used on this wedding dress to create waved ruffles...
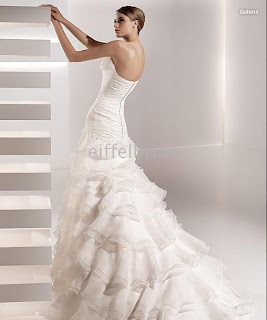
Same concept here...
Circular ruffles are used quite a bit in flamenco dresses and apparel....


These pieces make me wish I were a flamenco dancer:


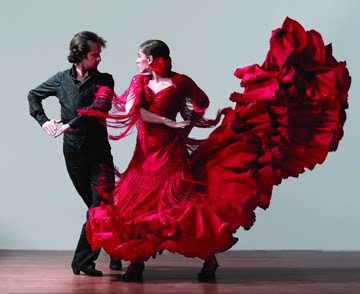
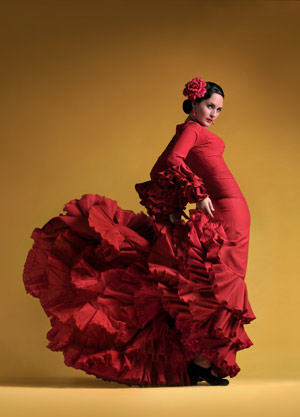
These pictures show how circular ruffles can be quite fluid... They dance and bounce, float and flutter. Straight ruffles are much more rigid....
